Saturday, May 23, 2015

A scrappy necklace tutorial

What do you do with all those teeny precious scraps? Well, keep them of course! And make lots of teeny adorable things, like these easy wood and fabric pendant necklaces... They're perfect with summer tees and denim. I wore mine yesterday with a teeshirt and my painting jeans for a quick run to pick up more basement floor paint. Covered in paint and I still felt pulled together! Ha! SO here we go:


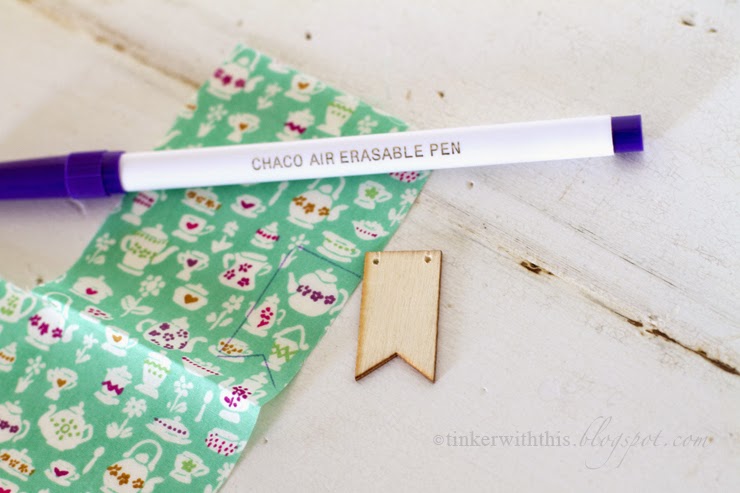
Some supplies you'll need: Little wooden shapes. I found mine in the scrapbooking section of a local craft store. You can find them online or in your craft stores or Tjmaxx/Marshalls stores. Small jump rings and coordinating chain. Scraps of your favorite fabrics. Needle nose pliers. Scissors (not pictured). Mod podge and a sponge brush (not pictured). Seam ripper. Pen or disappearing ink pen.


Step one: Using your seam ripper or a sharp pointed object, poke two holes into the wood piece.


Step two: Trace your wood shape onto your fabric scrap and cut out. Make sure to cut a bit inside your traced line.


Step three: Spread a drop of mod podge onto your wood piece and place the cut scrap on top. Press down with your fingers to ensure the scrap is evenly attached.
Step four: Spread a drop of mod podge over the top of the fabric to seal it.


Step five: After dry, poke back through your holes to create holes in the fabric. Now attach your jump rings, first through the hole in the wood/fabric and then onto your necklace. Close the jump ring and attach the second one.

That's it, you're done! Now go make a million of these, they're so addicting and the perfect way to show off your textile love. Happy crafting!

Tuesday, April 21, 2015

The cozy blankie tutorial

So....it's been a while! This is my official first blog post for 2015. Let's make it a good one, shall we?


Who wants to learn how to make the easiest softest cutest blankie? You do? Great. You're going to need a few things.

Supplies:
Half yard cut of 'the soft' fabric...Seriously. I don't know what it's called but it's the same material all those really cozy throw blankets from TJMaxx and HomeGoods are made out of.
FQ of coordinating cotton fabric
Scissors
Pins or clover clips
Intermediate or above knowledge of sewing

Okay. Cut your cuddly fabric to approximately 18x24". Cut your cotton fabric to approximately 16.5x22.5". Lay your inner piece on top of the cuddly piece (centered), wrong sides facing each other. Now start folding your cuddly fabric over the edge of the inside fabric, pinning as you go. Just like you would a binding. If you need help on instructions for a 'faux binding' try a quick search on Pinterest. There are lots of great tutorials out there. 


Now it's time to sew. Can you manage a straight line? Then you can make one of these. 


Just stitch all the way around with a top stitch, making sure your cuddly fabric doesn't come unfolded. You won't see it if you have to unpick and restitch but it's a pain! (PS: I like to add a little tab of ribbon as an accent, just tuck it under your 'binding' before sewing.) Once you've managed to make your way around all the edges, you are done! Congrats. Now wasn't that easy? See? I wouldn't lie to you. Happy making!


Related Posts Plugin for WordPress, Blogger...