Saturday, April 28, 2012

The one with the closet

Oh closet of mine. Seeing it in photos actually makes me feel a bit like a hoarder. A clean, organized, sassy fashionista hoarder. Regardless, here it is, my closet, as organized as I can get it. And hopefully it inspires you to tackle your clothes closet, or that junk closet you conveniently refuse to show anyone. You know the one I'm talking about. Don't pretend.

Here's the first view, as you open the doors and enter. This closet is in the upstairs hallway so I feel like it needs to be a little more presentable than if it was say in my bedroom. It is a bit inconvenient to always have to pull my clothes from the hallway, but it is the biggest closet in the house, so I was willing to make the sacrifice. IMG_0183_closet01.jpg

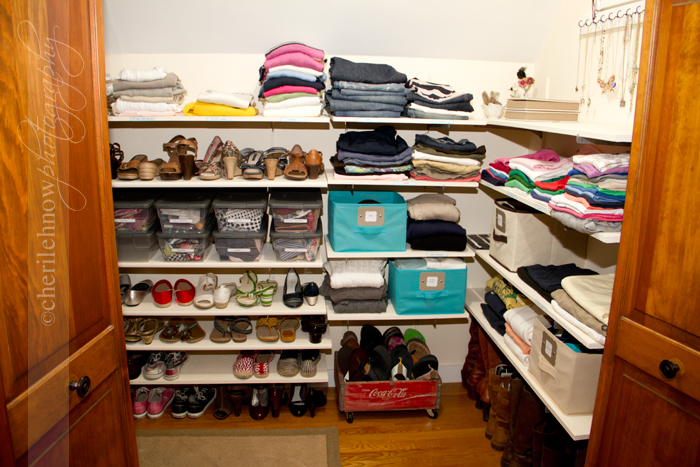
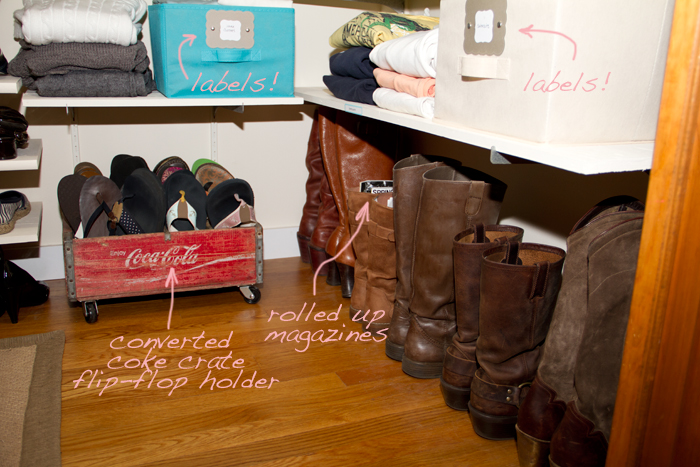
I've labelled all the boxes so I know what's in there at a glance. I also use rolled magazines inside boots to keep them upright and have created a flip-flop cart out of an old soda crate by simply attaching wheels. IMG_0186_closet02.jpg

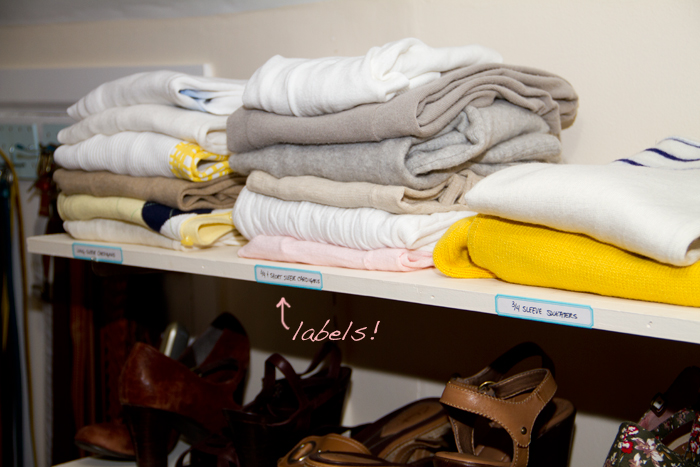
I also labelled my shelves which is probably a bit excessive but if I haven't done laundry in a while, it's nice to know where each pile originates. IMG_0189_closet03.jpg

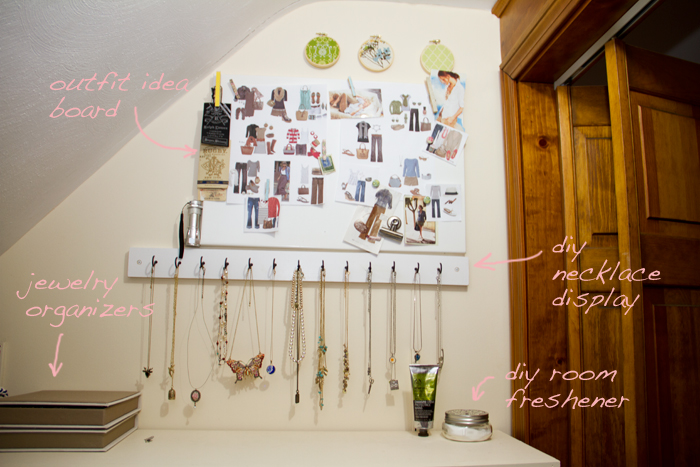
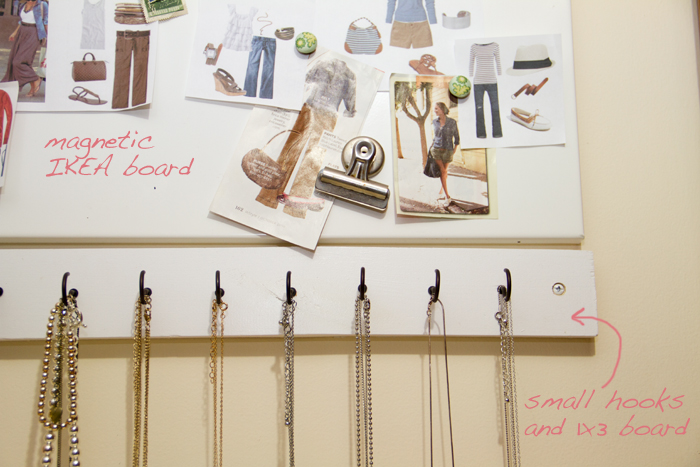
Above the shelves I've placed a jewelry holder and an outfit inspiration board. These are just fun things for me and not at all necessary, but a clean shelf top is, providing work space and a dumping ground for folded items to be put away. The necklace holder is simply a pine board primed and painted with small screw hooks attached. Simple but useful. IMG_0193_closet04.jpg IMG_0194_closet05.jpg

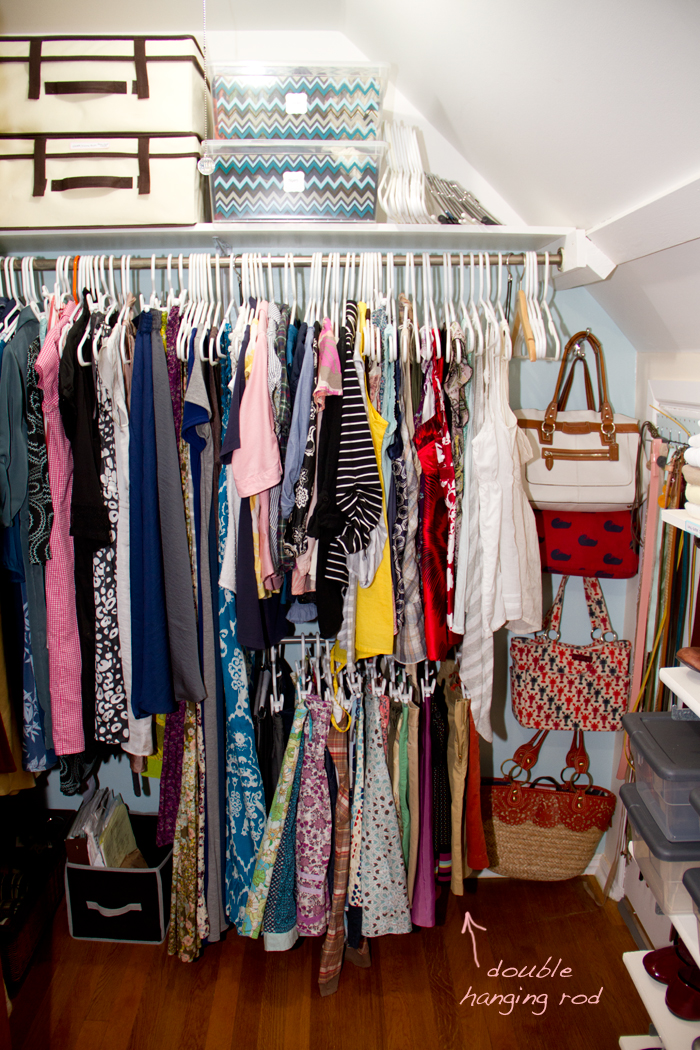
My closet is an L shape, with all the hanging area as you step in to your left. Make sense? Here I've taken advantage of the space using a double hanging rod to store skirts and tops. Unfortunately {but not really}, I have too much stuff and my clothes aren't able to 'breathe' properly. As I'm trying on things at the beginning of each season, I tend to find several items that either don't fit, don't flatter, or don't matter any more so they'll be donated or sent to the consignment store. Same thing happens with shoes, and accessories. IMG_0201_closet06.jpg

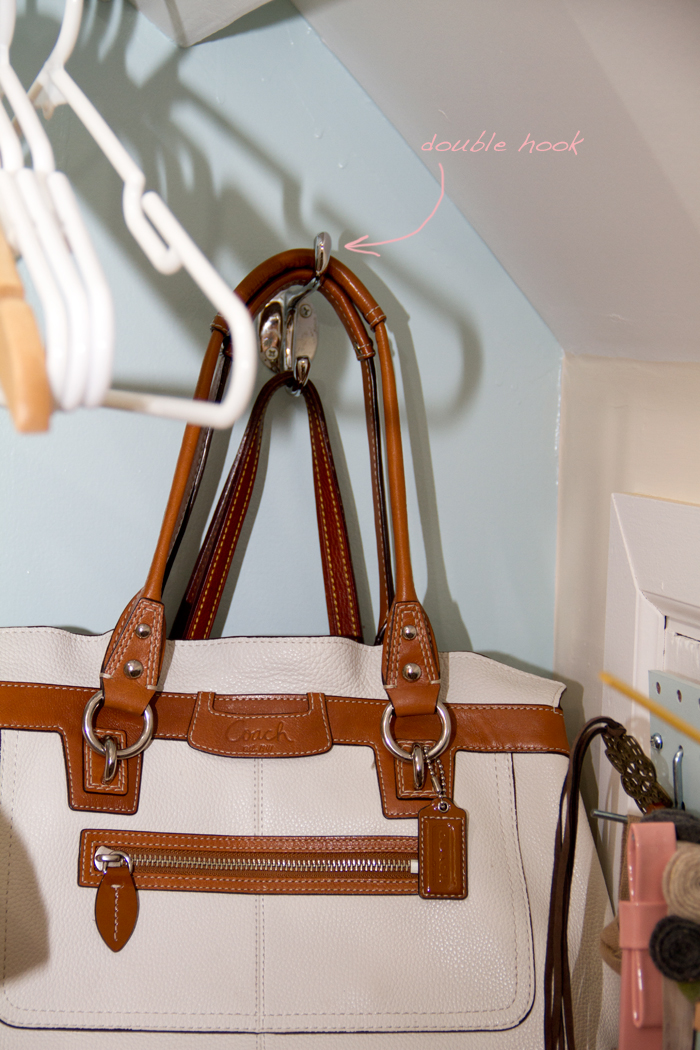
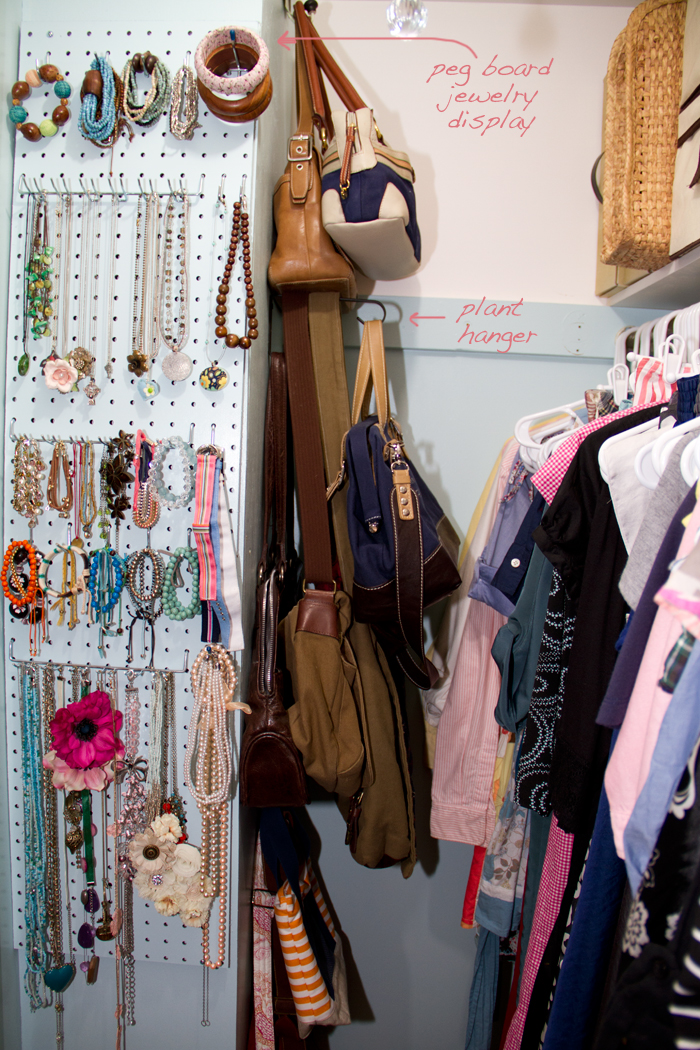
I've used a bunch of random hooks around the closet to hang bags and accessories. I'm not too worried about them matching since it's just me and me doesn't seem to be ocd about it. IMG_0195_closet07.jpg

I've also used pegboard to store my belts on the eve's closet door. Because as Sabrina Soto says, there's shouldn't be any wall space visible in your closet or you're just not making the most of the space. Or something along those lines. IMG_0191_closet08.jpg

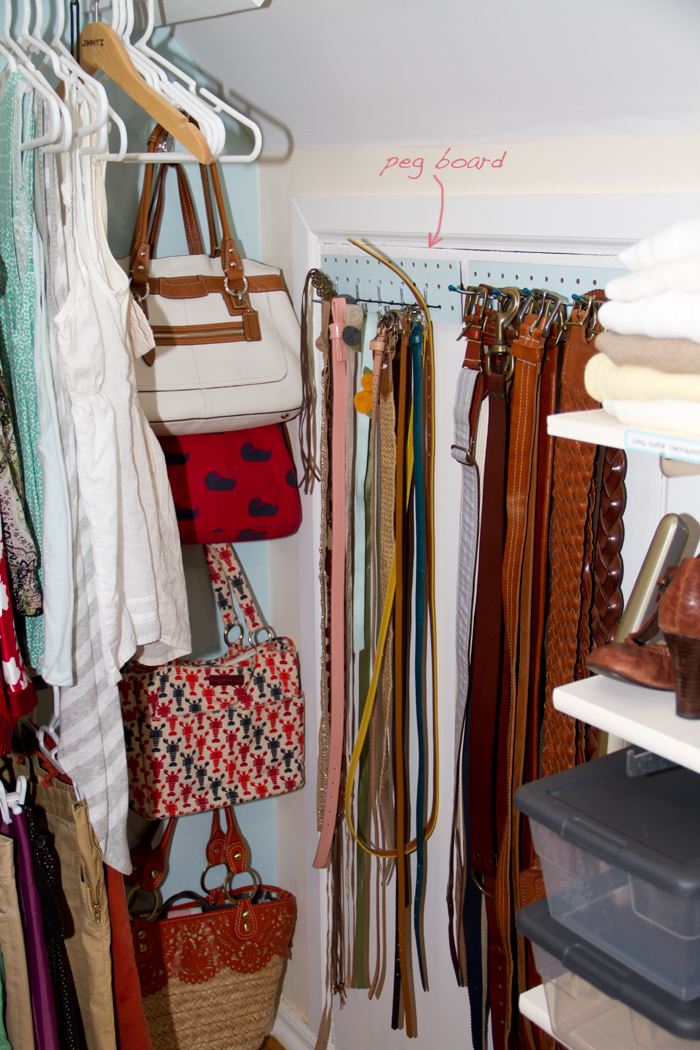
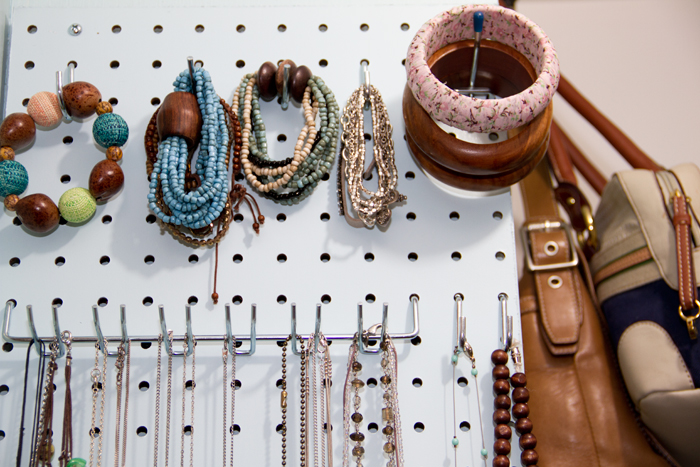
Again, I've tried to make the most of every space, including the wall hiding the ductwork. I did this using a peg board organization system. The great thing about the peg board is you can customize it to easily store and organize your specific collection of jewelry because of the variety of hooks and attachments. Another interesting thing I found works well is plant hangers. You can place several long handled bags on one hook. IMG_0197_closet09.jpg IMG_0200_closet10.jpg

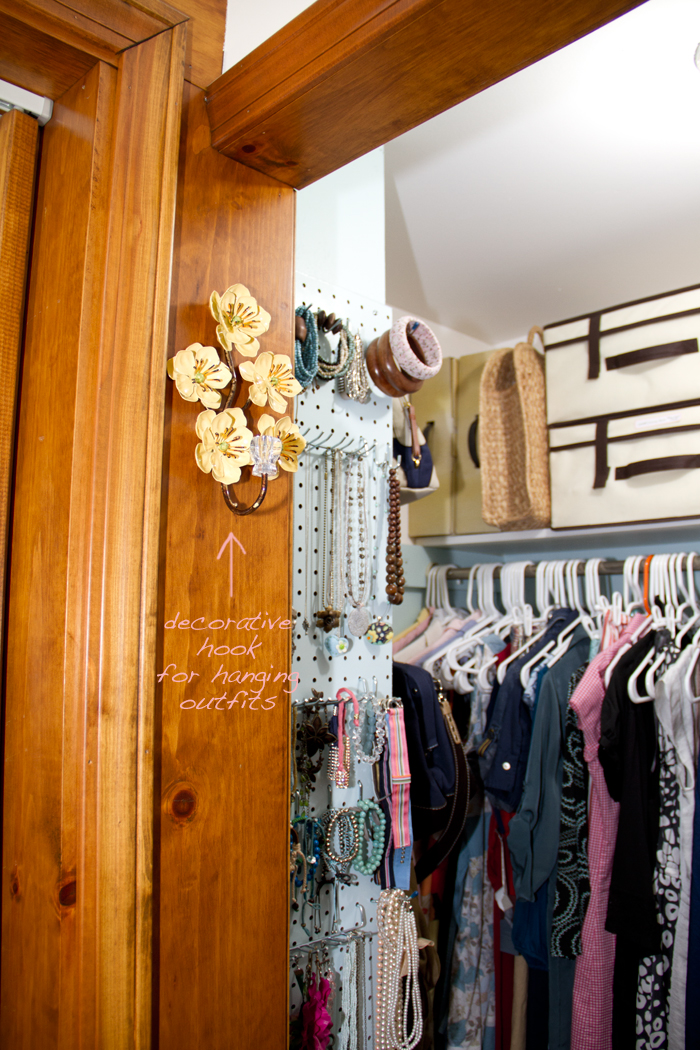
And last but not least, I've attached a hook out of the way to hang outfits on. This way I can pull together an entire outfit and keep it there for the next morning. IMG_0202_closet11.jpg

So sorry about all the pictures but I hope this will inspire you! If it does please let me know...and if you have any questions just leave a comment.

Sunday, April 22, 2012

Rainy days and happy stays

After some last-minute day trip plans fell through, I decided to get my craft on and make a few of these: IMG_0222_flowers.jpg

I had a nifty idea to make an ombre flower, following this crazy everything ombre trend. I think they'll end up as headbands for the wee one, and maybe a nifty pin for me. IMG_0220_flowers.jpg

And since it's a rainy lazy Sunday, there was some of this going on: IMG_0215_sunday.jpg

There was also some blatant tea drinking, tv watching, some laundry to be finished and some blogging. See. Oh and about 2 weeks ago now bebe turned 4 months. Crazy isn't it all? This wonderful simple insane life we lead? IMG_0175_month4.jpg

Friday, April 06, 2012

photo explosion

I really have nothing to say tonight, so I'll bombard you with photos of my simply gorgeous bebe. Enjoy:

IMG_0082_lc.jpg
IMG_0069_lc.jpg
IMG_0100_lc.jpg
IMG_0074_elsie.jpg

Monday, April 02, 2012

baby carrier strap cover: a tutorial

Well I'm sure there are plenty of these tutorials on the world wide internetz, or on Pinterest, but I thought this up on my own and figured I would simply document my process. So call it a tutorial if you will, but if there's a better one out there, I won't be hurt.

The new Ergo carrier I bought is amazing. I'm absolutely pleased with my purchase although I've noticed a couple of things. First, it's really really really hard to fasten the strap that keeps the shoulders together in the back, when you're wearing the carrier in the front. Second, the bebe likes to suck {and spit-up} on the straps since they're so close to her face. While I can't fix the first problem {but I'll get it at some point}, the second seemed an easy solution. What about washable, interchangeable strap covers that you can use to protect the carrier straps? Brilliant!

These for me are kind of two-fold, since I bought a navy blue carrier, I needed to girl-ify it a bit so people will stop asking if she's a boy or a girl. And now I won't have to wash my carrier so often due to dirty straps. So here we go:

StrapCvrs05.jpg

StrapCvrs01.jpg
Start with two 6"x8" pieces of quilt batting or fusable interfacing. Then choose two coordinating fabrics and cut 2 pieces of each, 6.5"x8.5". You will also need two 5" strips of velcro.

Now I didn't document EVERY step of the way so if you have any questions let me know. Now I used quilt batting, so I quilted it onto the back of my cover fabric. Then I put both coordinating fabrics face to face and stitched around the edges, leaving an opening along one of the short ends indicated by the pins.
StrapCvrs02.jpg

Turn the cover inside out using the opening, push the corners out and iron flat. Now tuck the extra fabric from the opening inside and stitch completely around the edge.
StrapCvrs03.jpg

Place your velcro strips in their appropriate locations. I put mine as close to the outer edge as I could since the 8" size is a pretty snug fit.
StrapCvrs04.jpg

Once you've done that and snipped off your extra threads, you're done! I thought they were pretty easy and fast. And they look fairly snazzy:
StrapCvrs06.jpg

And since you need another set while the first set is in the wash:
StrapCvrs07.jpg

Again, let me know if you have any questions! Mine ARE pretty snug fitting, so if you want to play it safe you could always work with a 6"x8.5" template. If any of you talented readers do make some of these, I would love to see them, so link it up for me or email me a photo at tinkerellen@yahoo.com
Related Posts Plugin for WordPress, Blogger...